
Get started
Add your staff
Add your employees one at a time or from a file, each with a salary type and a rate.
Before you start
You need an account that can edit pay rates. Your plan also needs a free seat, the space one employee takes up on your plan, for each person you add.
Steps
Add one employee
-
Go to Staff and click Add Employee.
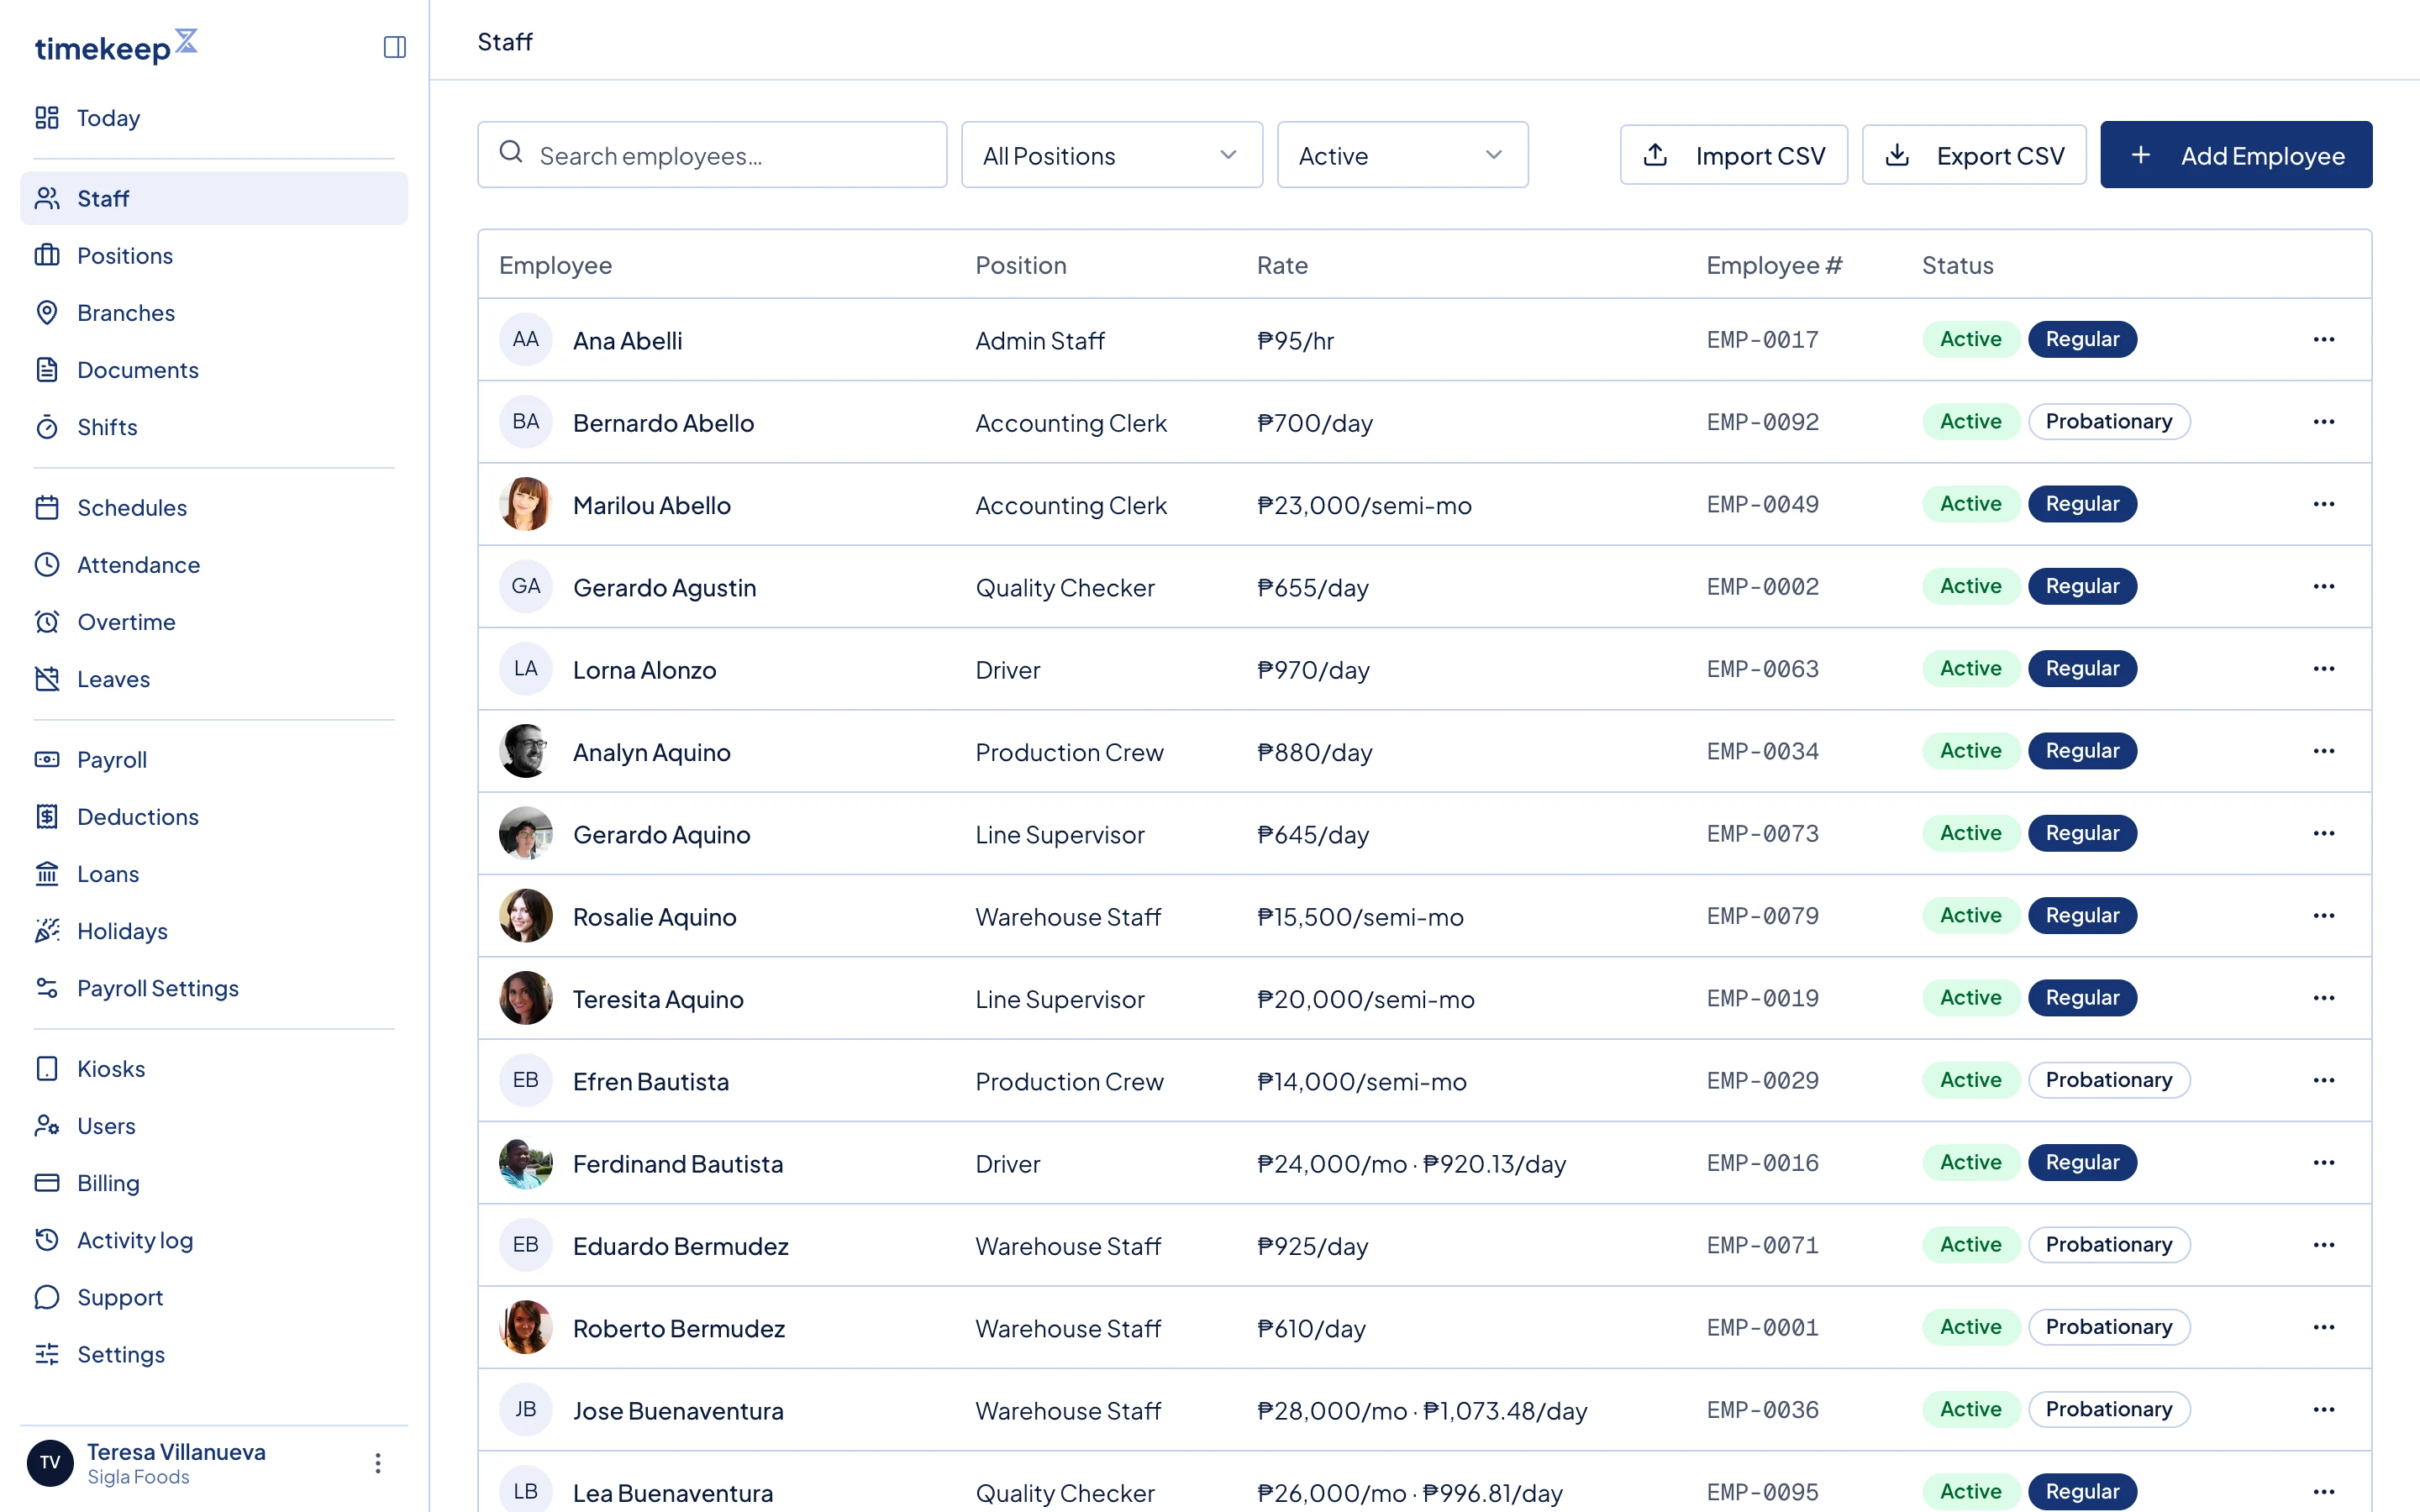
The Staff page. Import CSV, Export CSV and Add Employee are at the top right. -
Fill in First Name and Last Name. Email, Position and Branch are optional, so you can come back to them later.
-
Pick a Salary Type. Timekeep then shows the rate field that goes with it, and that rate is required:
- Daily shows Daily Rate (₱). At ₱750, a day worked earns ₱750.
- Hourly shows Hourly Rate (₱). At ₱95, an eight-hour day earns ₱760.
- Fixed Semi-Monthly shows Semi-Monthly Rate (₱). Enter the full monthly salary here. Timekeep pays half of it on each cutoff, which is the half of the month a payroll run covers, so ₱30,000 pays ₱15,000 per cutoff.
- Monthly shows Monthly Rate (₱) and Daily Rate (₱). The monthly amount is split across the two cutoffs. The daily rate is what Timekeep uses to price absences and late minutes.
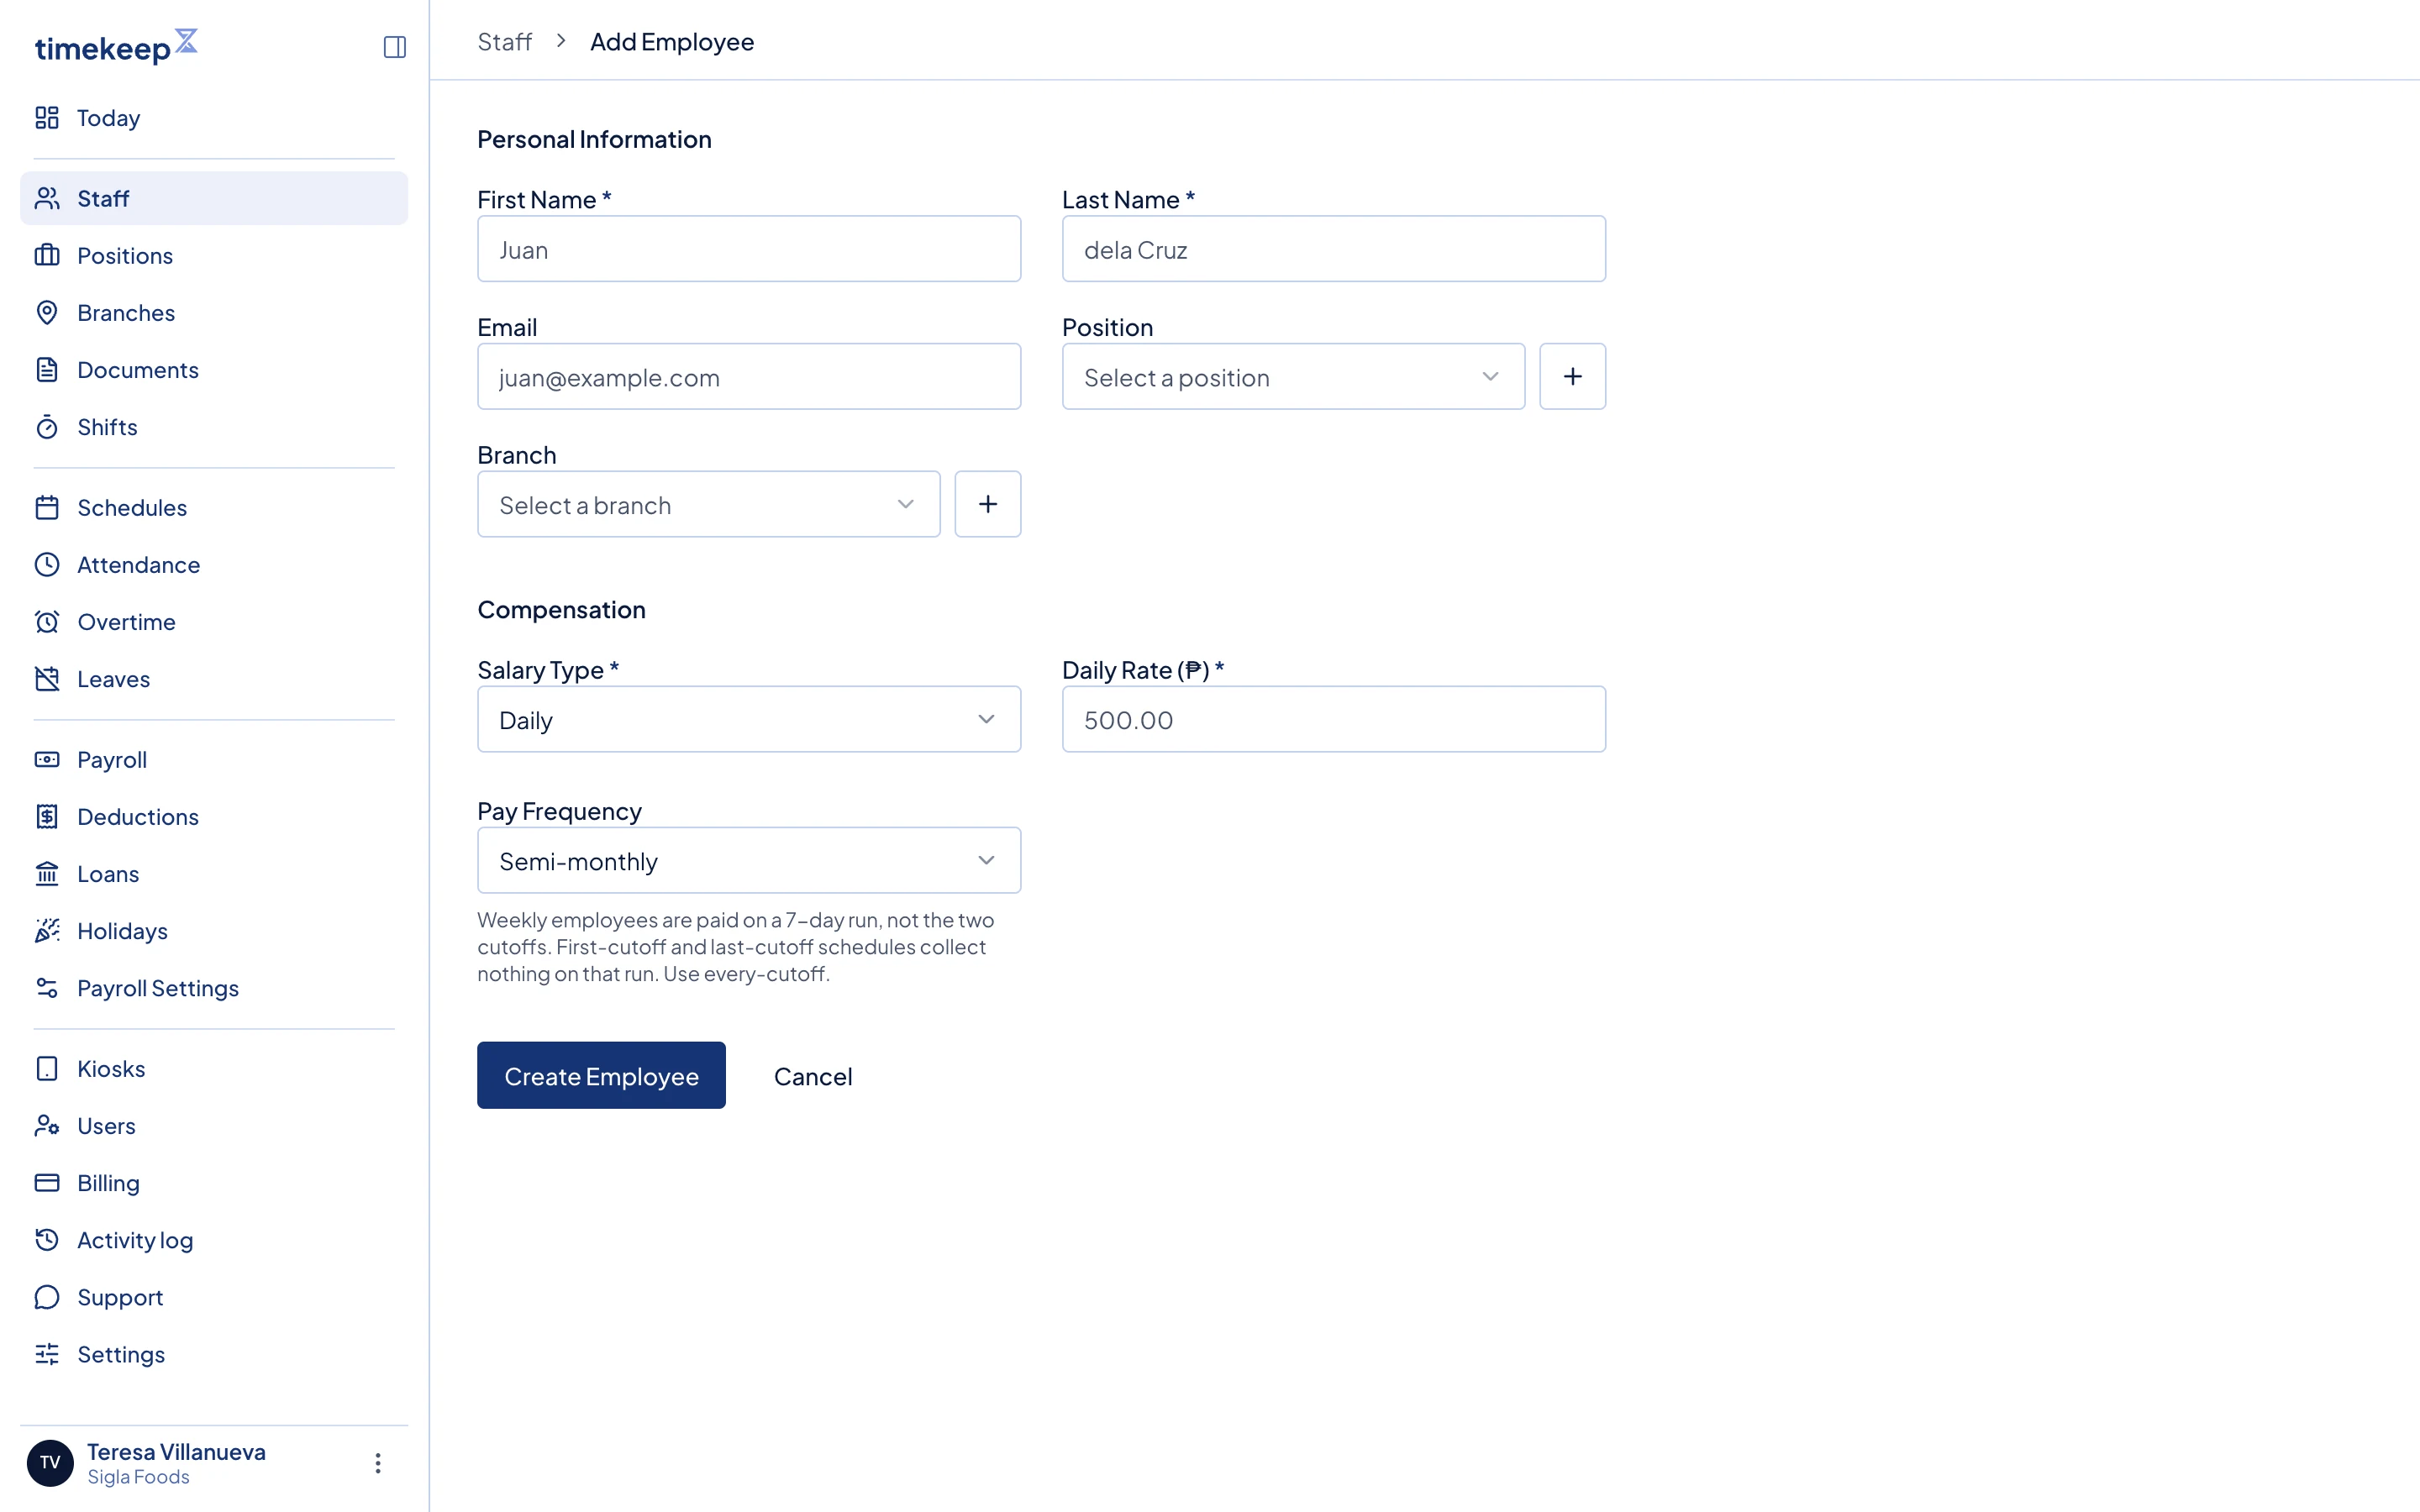
The Add Employee form. The rate field changes with the Salary Type. -
Set Pay Frequency, which is how often this person is paid. Semi-monthly means the two cutoffs. Weekly is a 7-day payroll run, and it is open to Daily and Hourly employees only.
-
Click Create Employee.
Import many from a file
-
Go to Staff and click Import CSV.
-
Click Download Template. Keep the header row as it is, delete the example rows, and fill in one row for each employee. Salary Type takes daily, fixed, hourly or monthly.
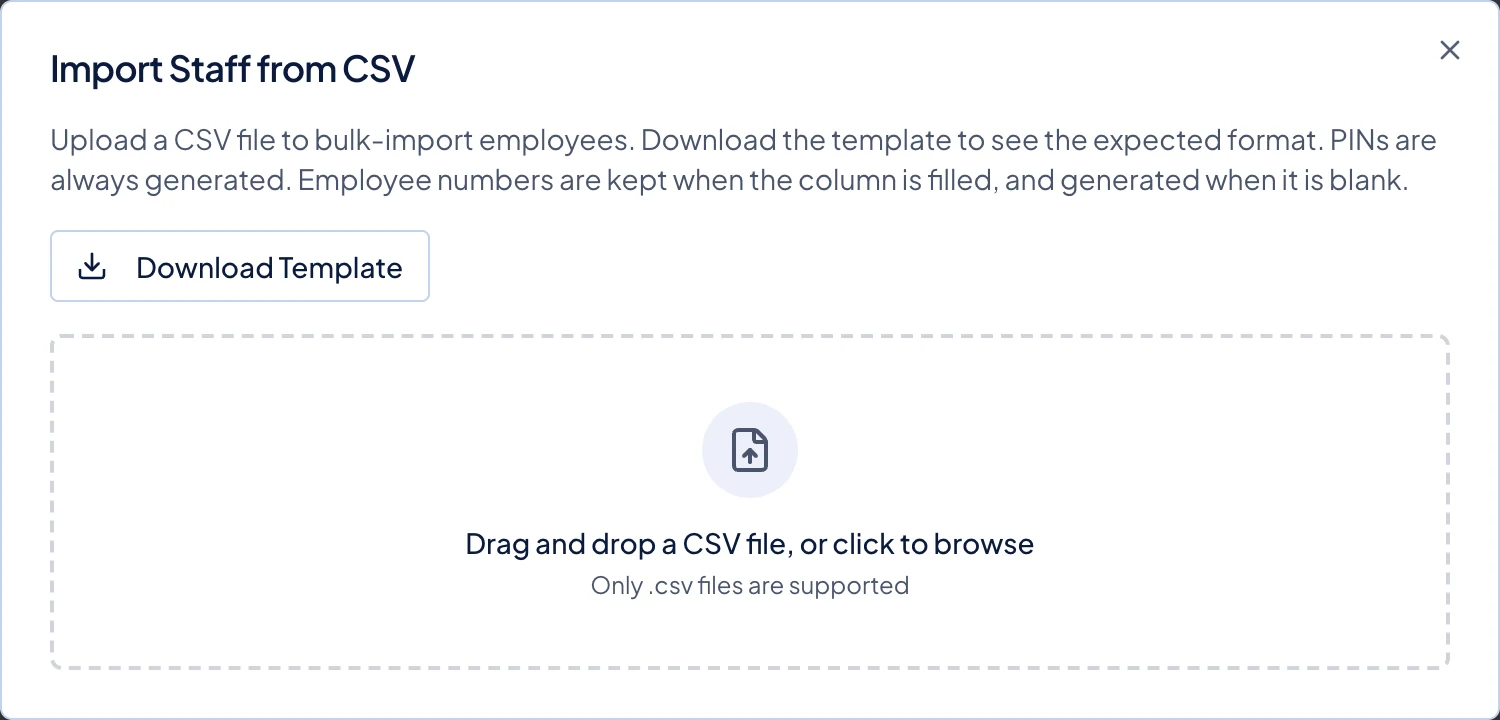
The import dialog, with Download Template above the upload box. -
Drag the file onto the upload box, or click the box to browse for it.
-
Check the preview before you import. Each row is marked Valid, Error or Duplicate. Hover over an Error or Duplicate badge to read the reason.
-
Click the import button, which counts the valid rows for you, then click Done.
What happens next
A new employee gets an employee number and a PIN from Timekeep, and their page opens so you can add government IDs and other settings. If you imported a file, the employee numbers in it are kept and blank ones are generated for you. PINs are always generated, so you never have to pick one.
Common problems
- Pay Frequency is greyed out. This happens when the salary type is Fixed Semi-Monthly or Monthly, because those employees stay on the two cutoffs. Pick Daily or Hourly if you need Weekly.
- A row shows Error. That row is not imported, so correct it in your spreadsheet and upload the file again.
- A row shows Duplicate. That name and email is already in Timekeep, or appears twice in your file. Duplicates are skipped rather than overwritten, so nothing you already have is changed. An employee number that is already taken shows Error instead.
- The preview says rows are over your seat limit. You can import the rows that fit now, or add seats in Billing and import the whole file again.
Last updated Sep 20, 2026