
Get started
Set up your business
Fill in your business details, payroll rules, branches, and positions so you are ready to add staff.
Before you start
You need the owner role, which you get the moment you sign up. That makes this the first thing to do after you create your account. Signup asks only for your business name, email, and password, so the rest of your details are still blank. The steps below fill them in.
Steps
-
Go to Settings. In the Business card, fill in Business name, Business email, TIN, and Business address. Only Business name is required, but the name, TIN and address print on payslips, so it is worth filling them in now.
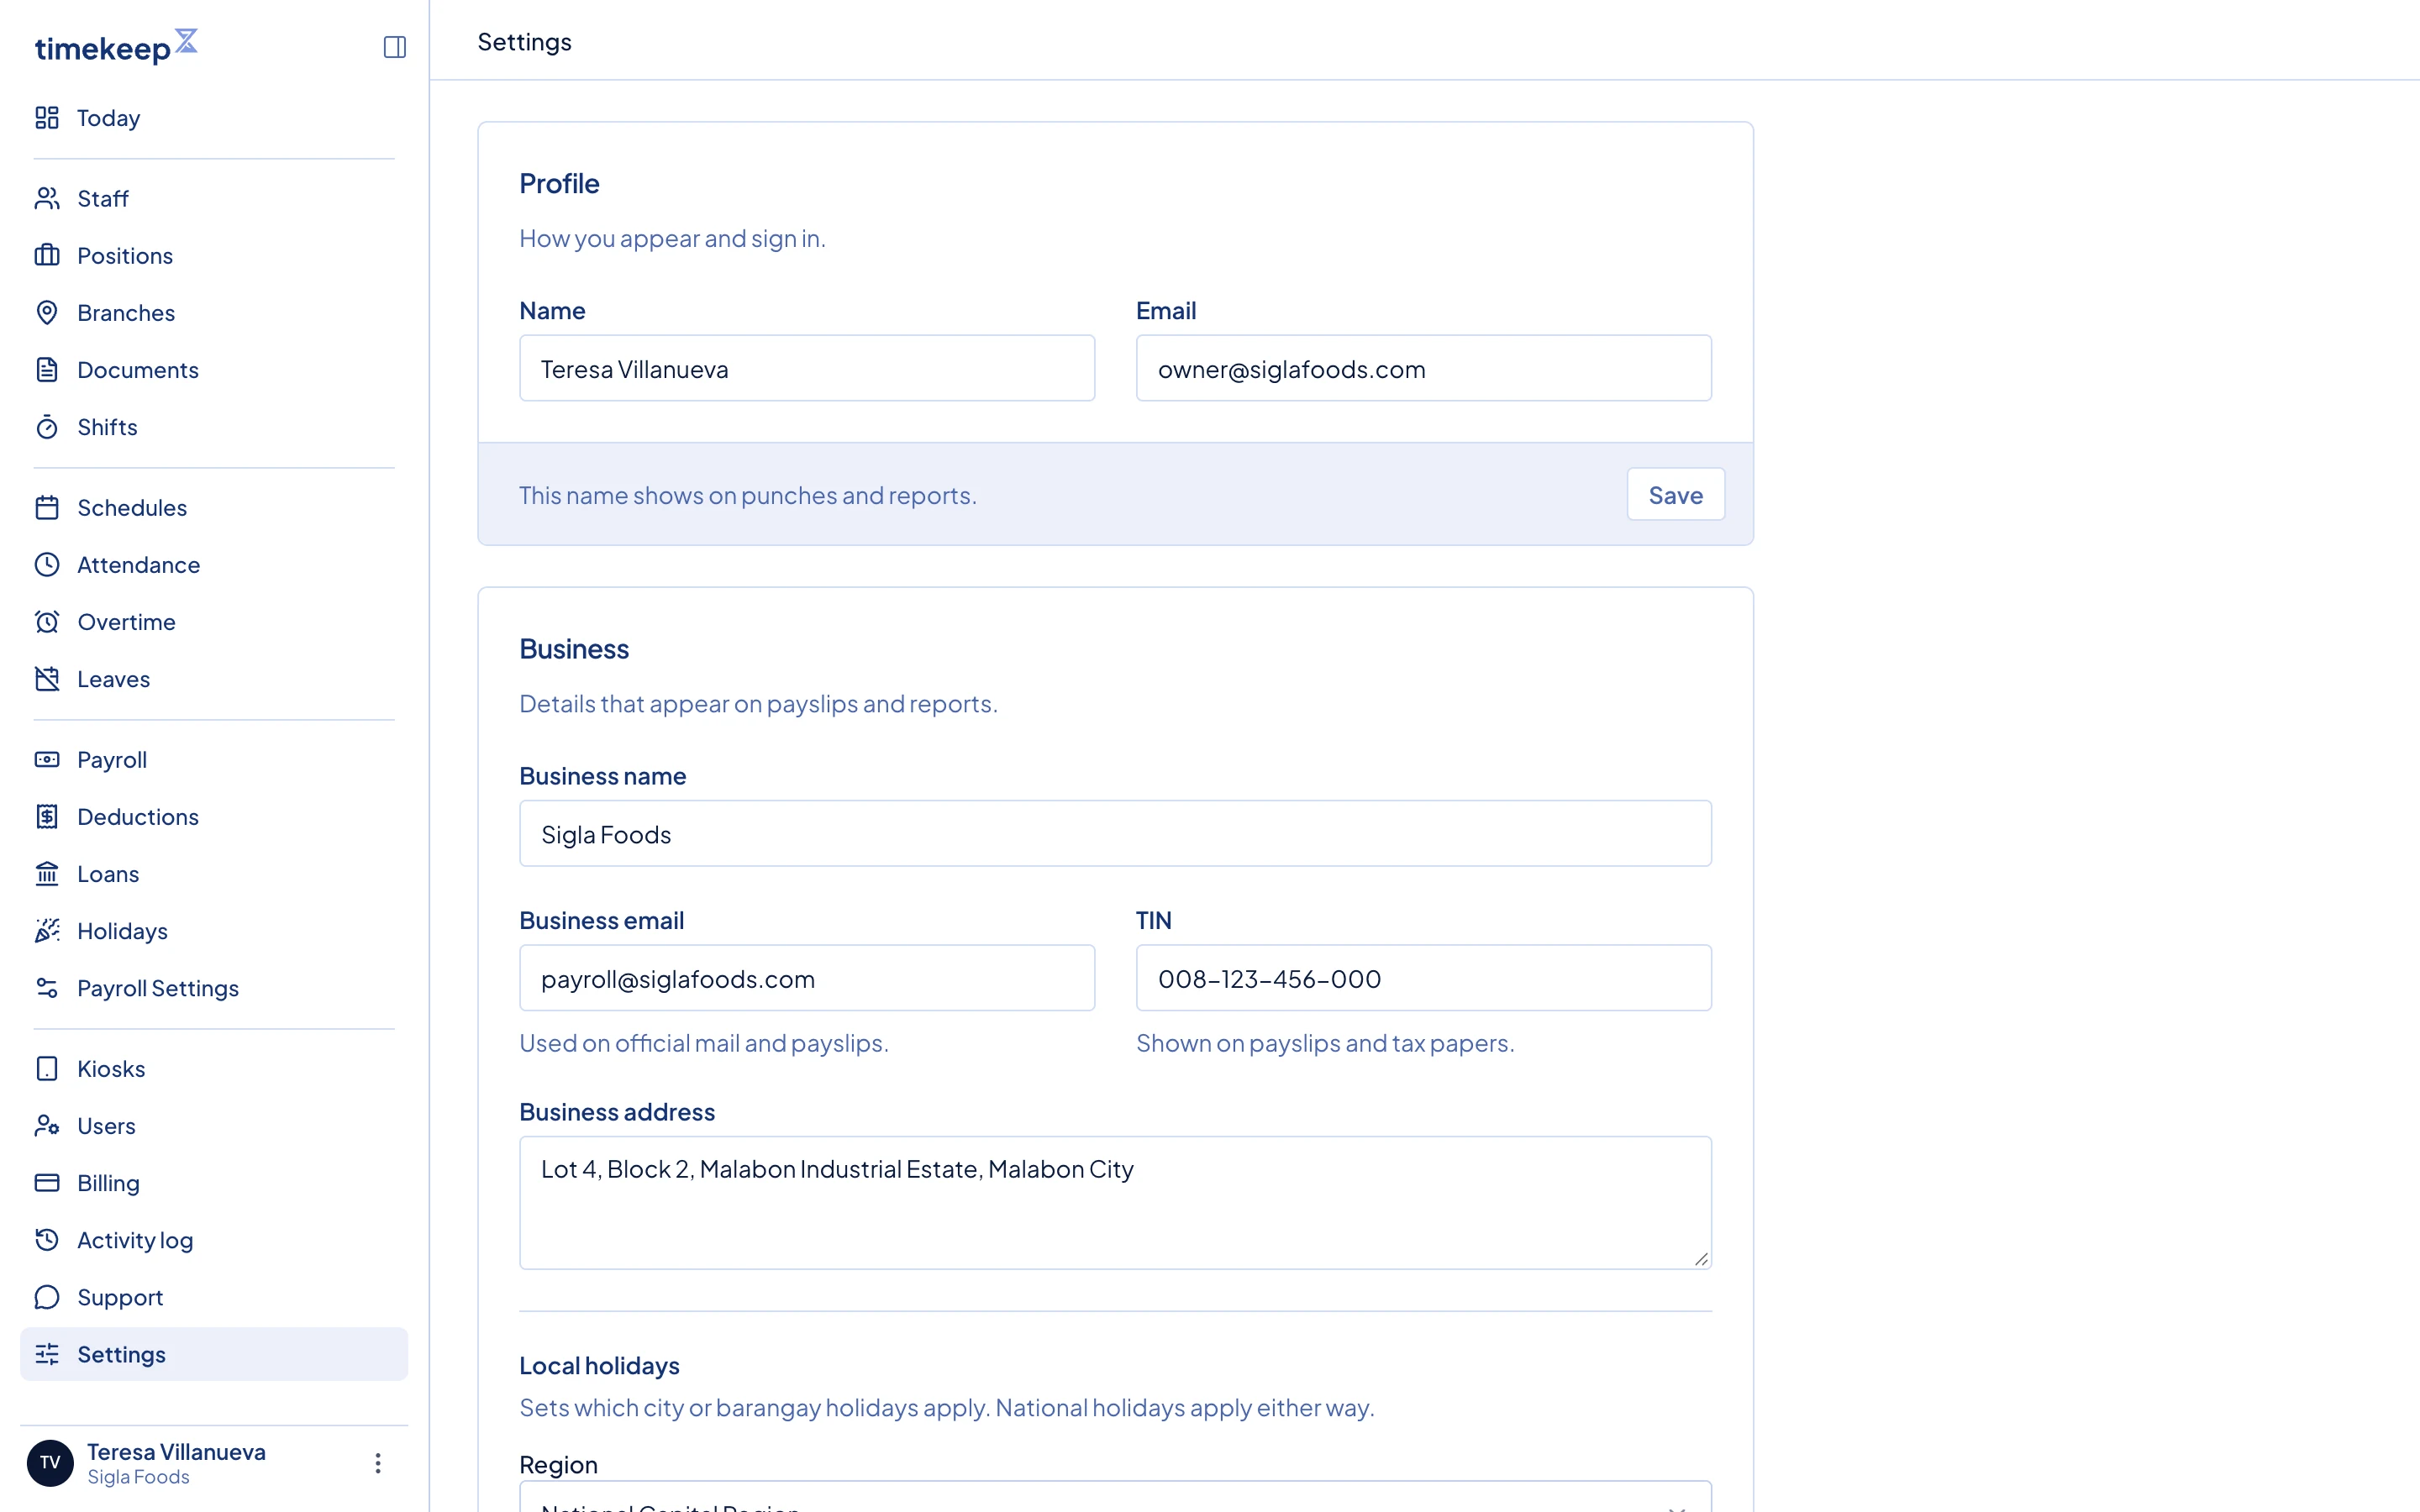
The Settings page, with the Business card below Profile. -
In the same card, set Local holidays to your city or barangay, so Timekeep knows which city holidays apply to you. National holidays apply either way. Click Save.
-
Go to Payroll Settings. These rules apply to every payroll run you create. In the General card, choose A full day is, Week starts on, and when SSS, PhilHealth, Pag-IBIG are taken. Click Save.
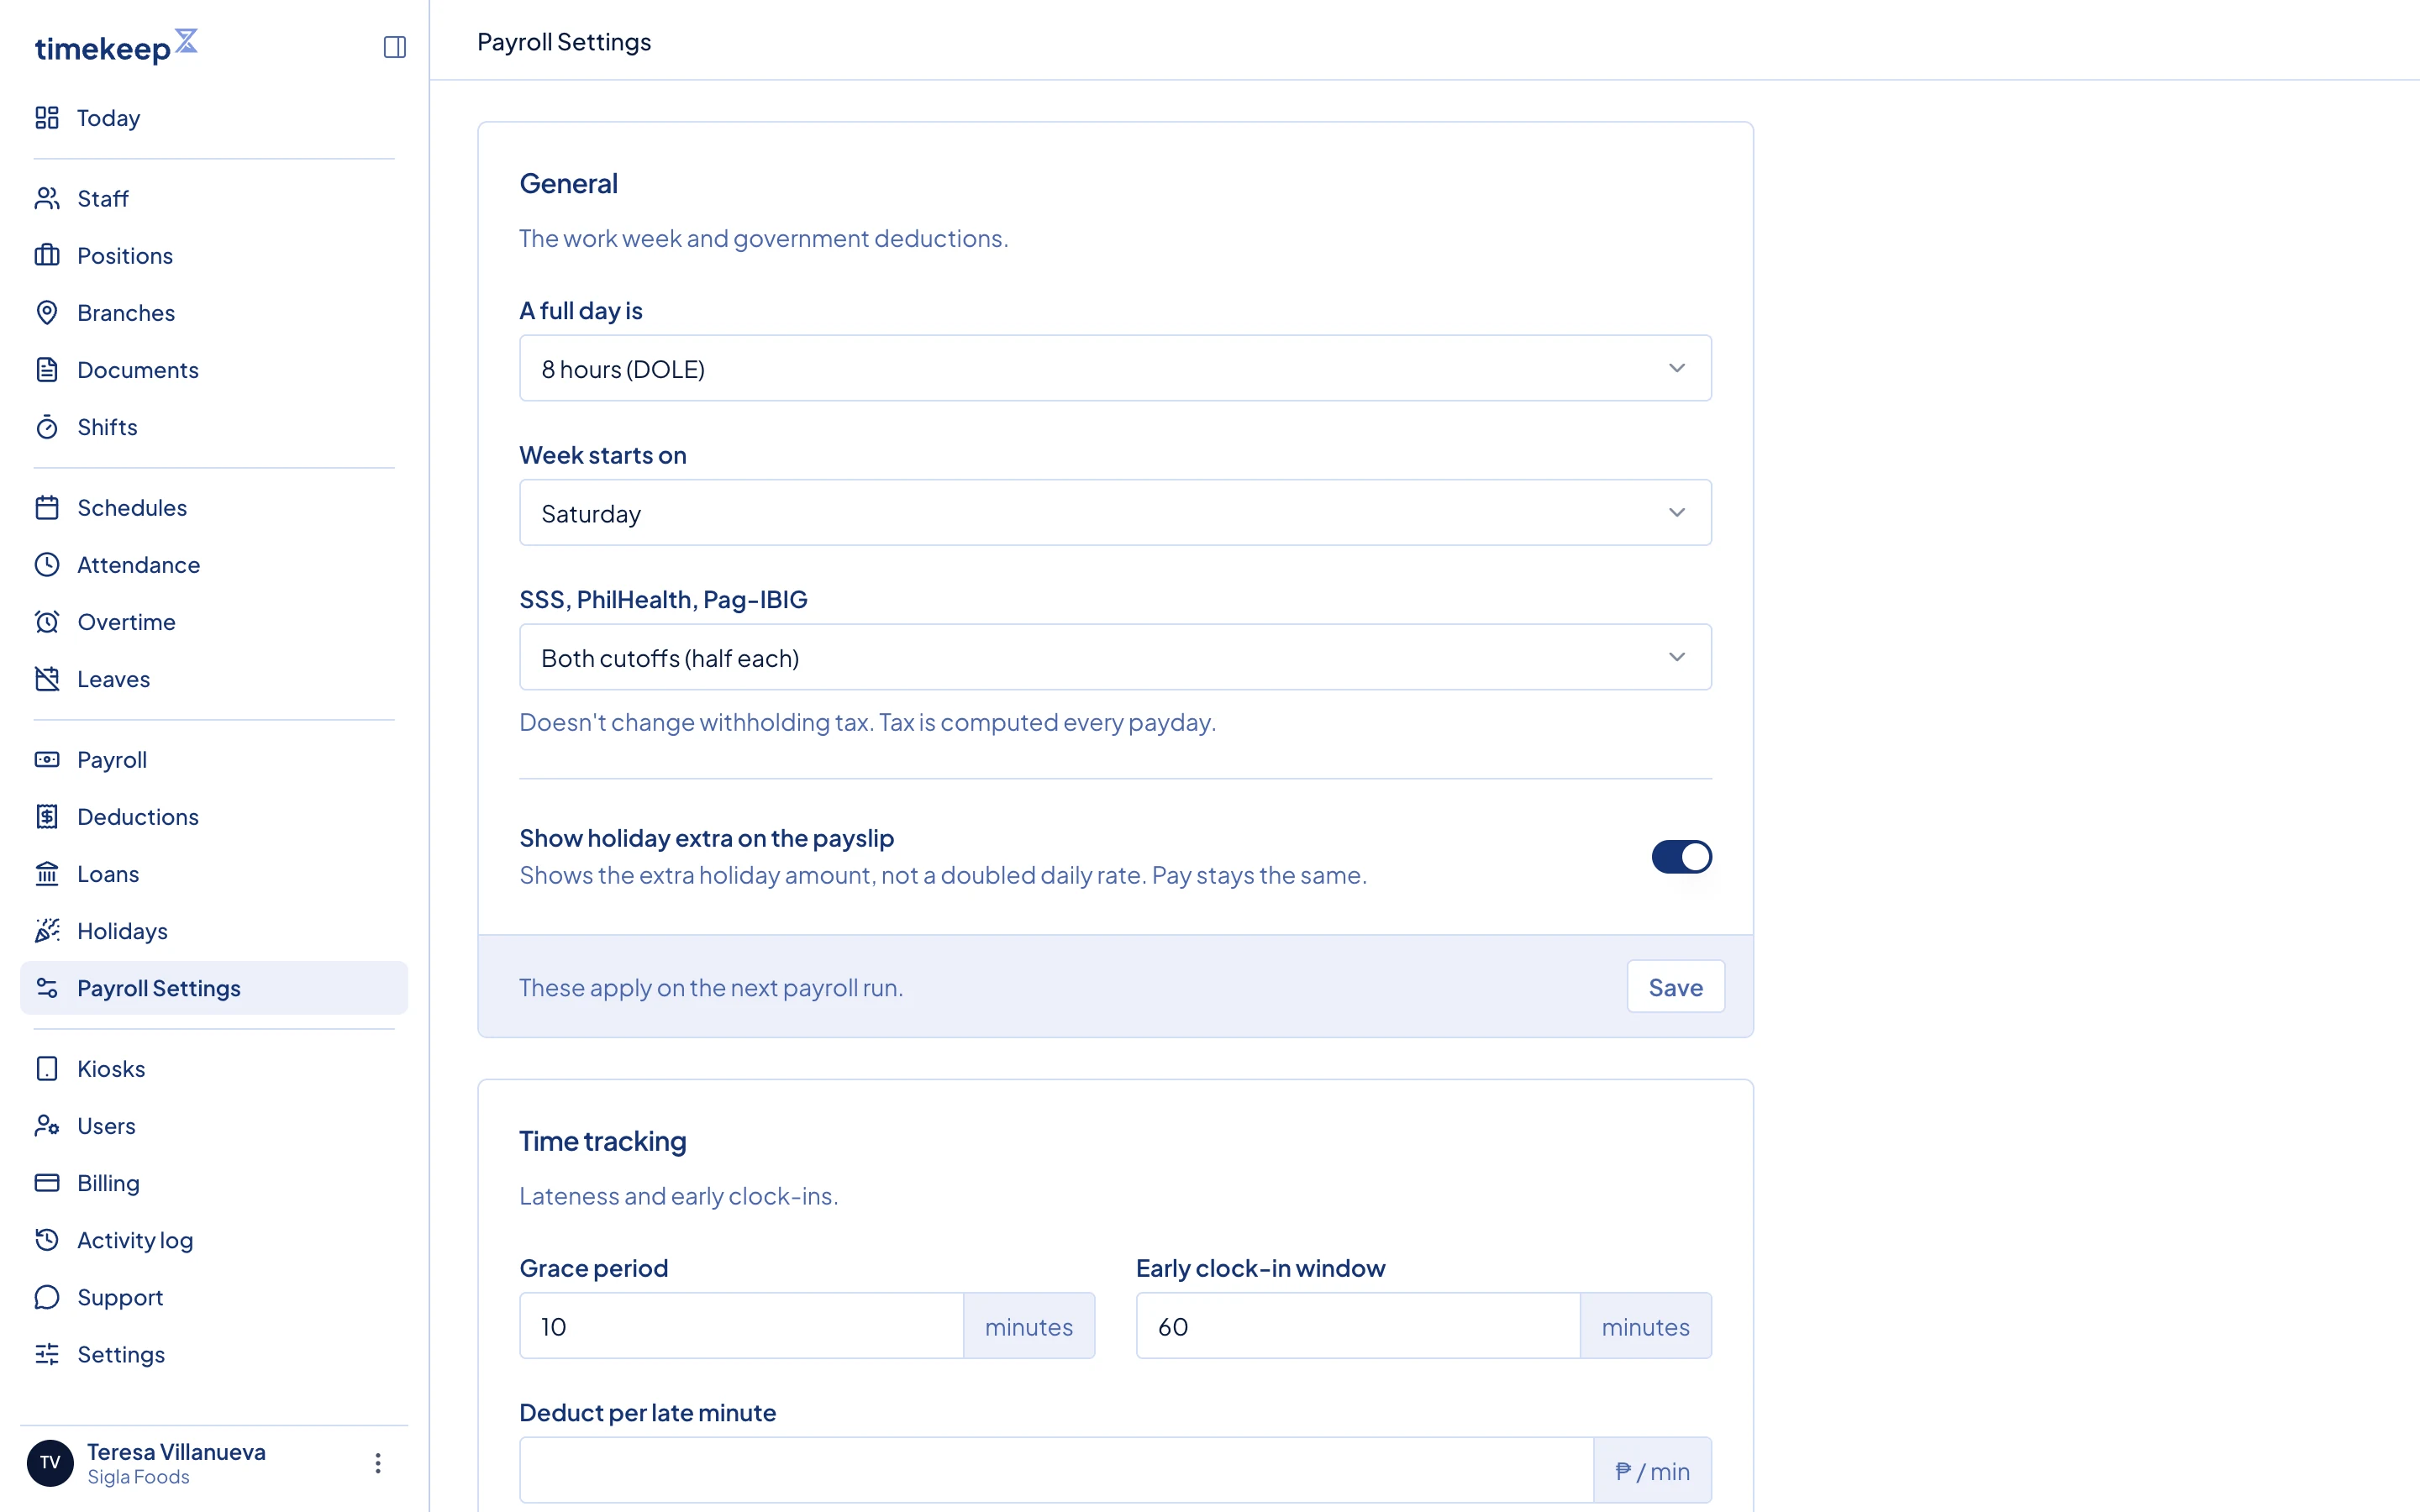
Payroll Settings. General, Time tracking and Overtime each save on their own. -
In the Time tracking card, set Grace period, the minutes of lateness you forgive, and Deduct per late minute in pesos. Leave the rate blank to use the employee hourly rate, or enter 0 if you do not deduct for late minutes at all. Click Save.
-
In the Overtime card, set Standard day for OT pay, the number of hours in a normal working day, such as 8. Turn on Pay extra for overtime if you pay a premium for extra hours. Click Save.
-
Go to Branches and click Create Branch. Type a Branch Name such as Katipunan, then click Create Branch in the dialog. You can skip this step if you work from one location.
-
Go to Positions and click Create Position. Type a Position Name such as Cashier, then click Create Position in the dialog. Add one for every job title you pay.
-
Go to Users and click Invite User to bring in anyone who helps you run Timekeep. Pick a Role and type their Email Address. Both are required. Click Send Invitation.
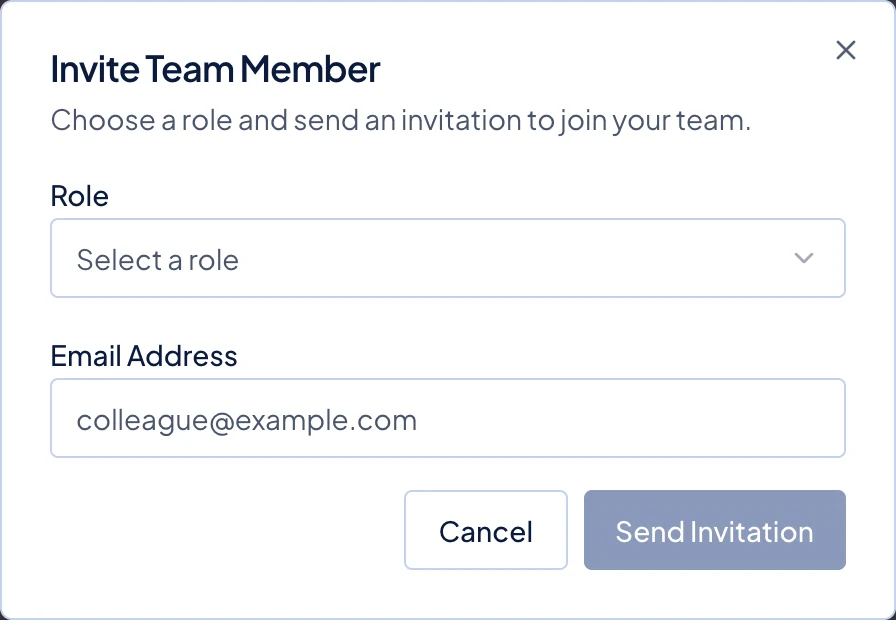
The Invite Team Member dialog, opened from Invite User.
The Portal, Supervisor access, and Kiosk cards on the Settings page can wait until you have staff to clock in.
What happens next
- Your business details show on the next payslip you generate.
- Your payroll settings apply on the next payroll run.
- Branches and positions become choices on the form when you add an employee.
- Anyone you invited gets an email link. It works for 7 days, so ask them to open it before it expires.
Common problems
Payroll Settings is missing from the sidebar. This page is for the owner only, so the other roles do not see it at all.
The invitation never arrived. You can send it again. Open Users, go to the Pending tab, and choose Resend Invitation.
Last updated Sep 20, 2026